Processing machines at the beamlines
For local data processing, several machines are available at the beamlines. They are named with a suffix of “k”. For instance, beamline 5.0.1 processing machines are bl501k1 and bl501k2.
Link to current site files here
Automatic processing
All data collected on beamlines 5.0.1, 5.0.2, 5.0.3, 8.2.1 and 8.2.2 is automatically processed using both XDS and DIALS. The results show up in your data directory under new directories labeled XDS_yourdataname and DIALS_yourdataname. The XDS results should complete within 5 minutes of the end of your data collection. The DIALS results usually complete within 30 minutes. Please note that since these results are in your data directory, they will be automatically deleted two weeks after your run. Be sure to back up the autoprocessed folders along with your data, if you want to keep the results.
The results are also available directly from the beamline b4 GUI. Open up the gui by typing b4 at a terminal prompt at the beamline (or in your remote session.) In the b4 GUI, go to the Data tab, and the results from both XDS and DIALS are linked there.
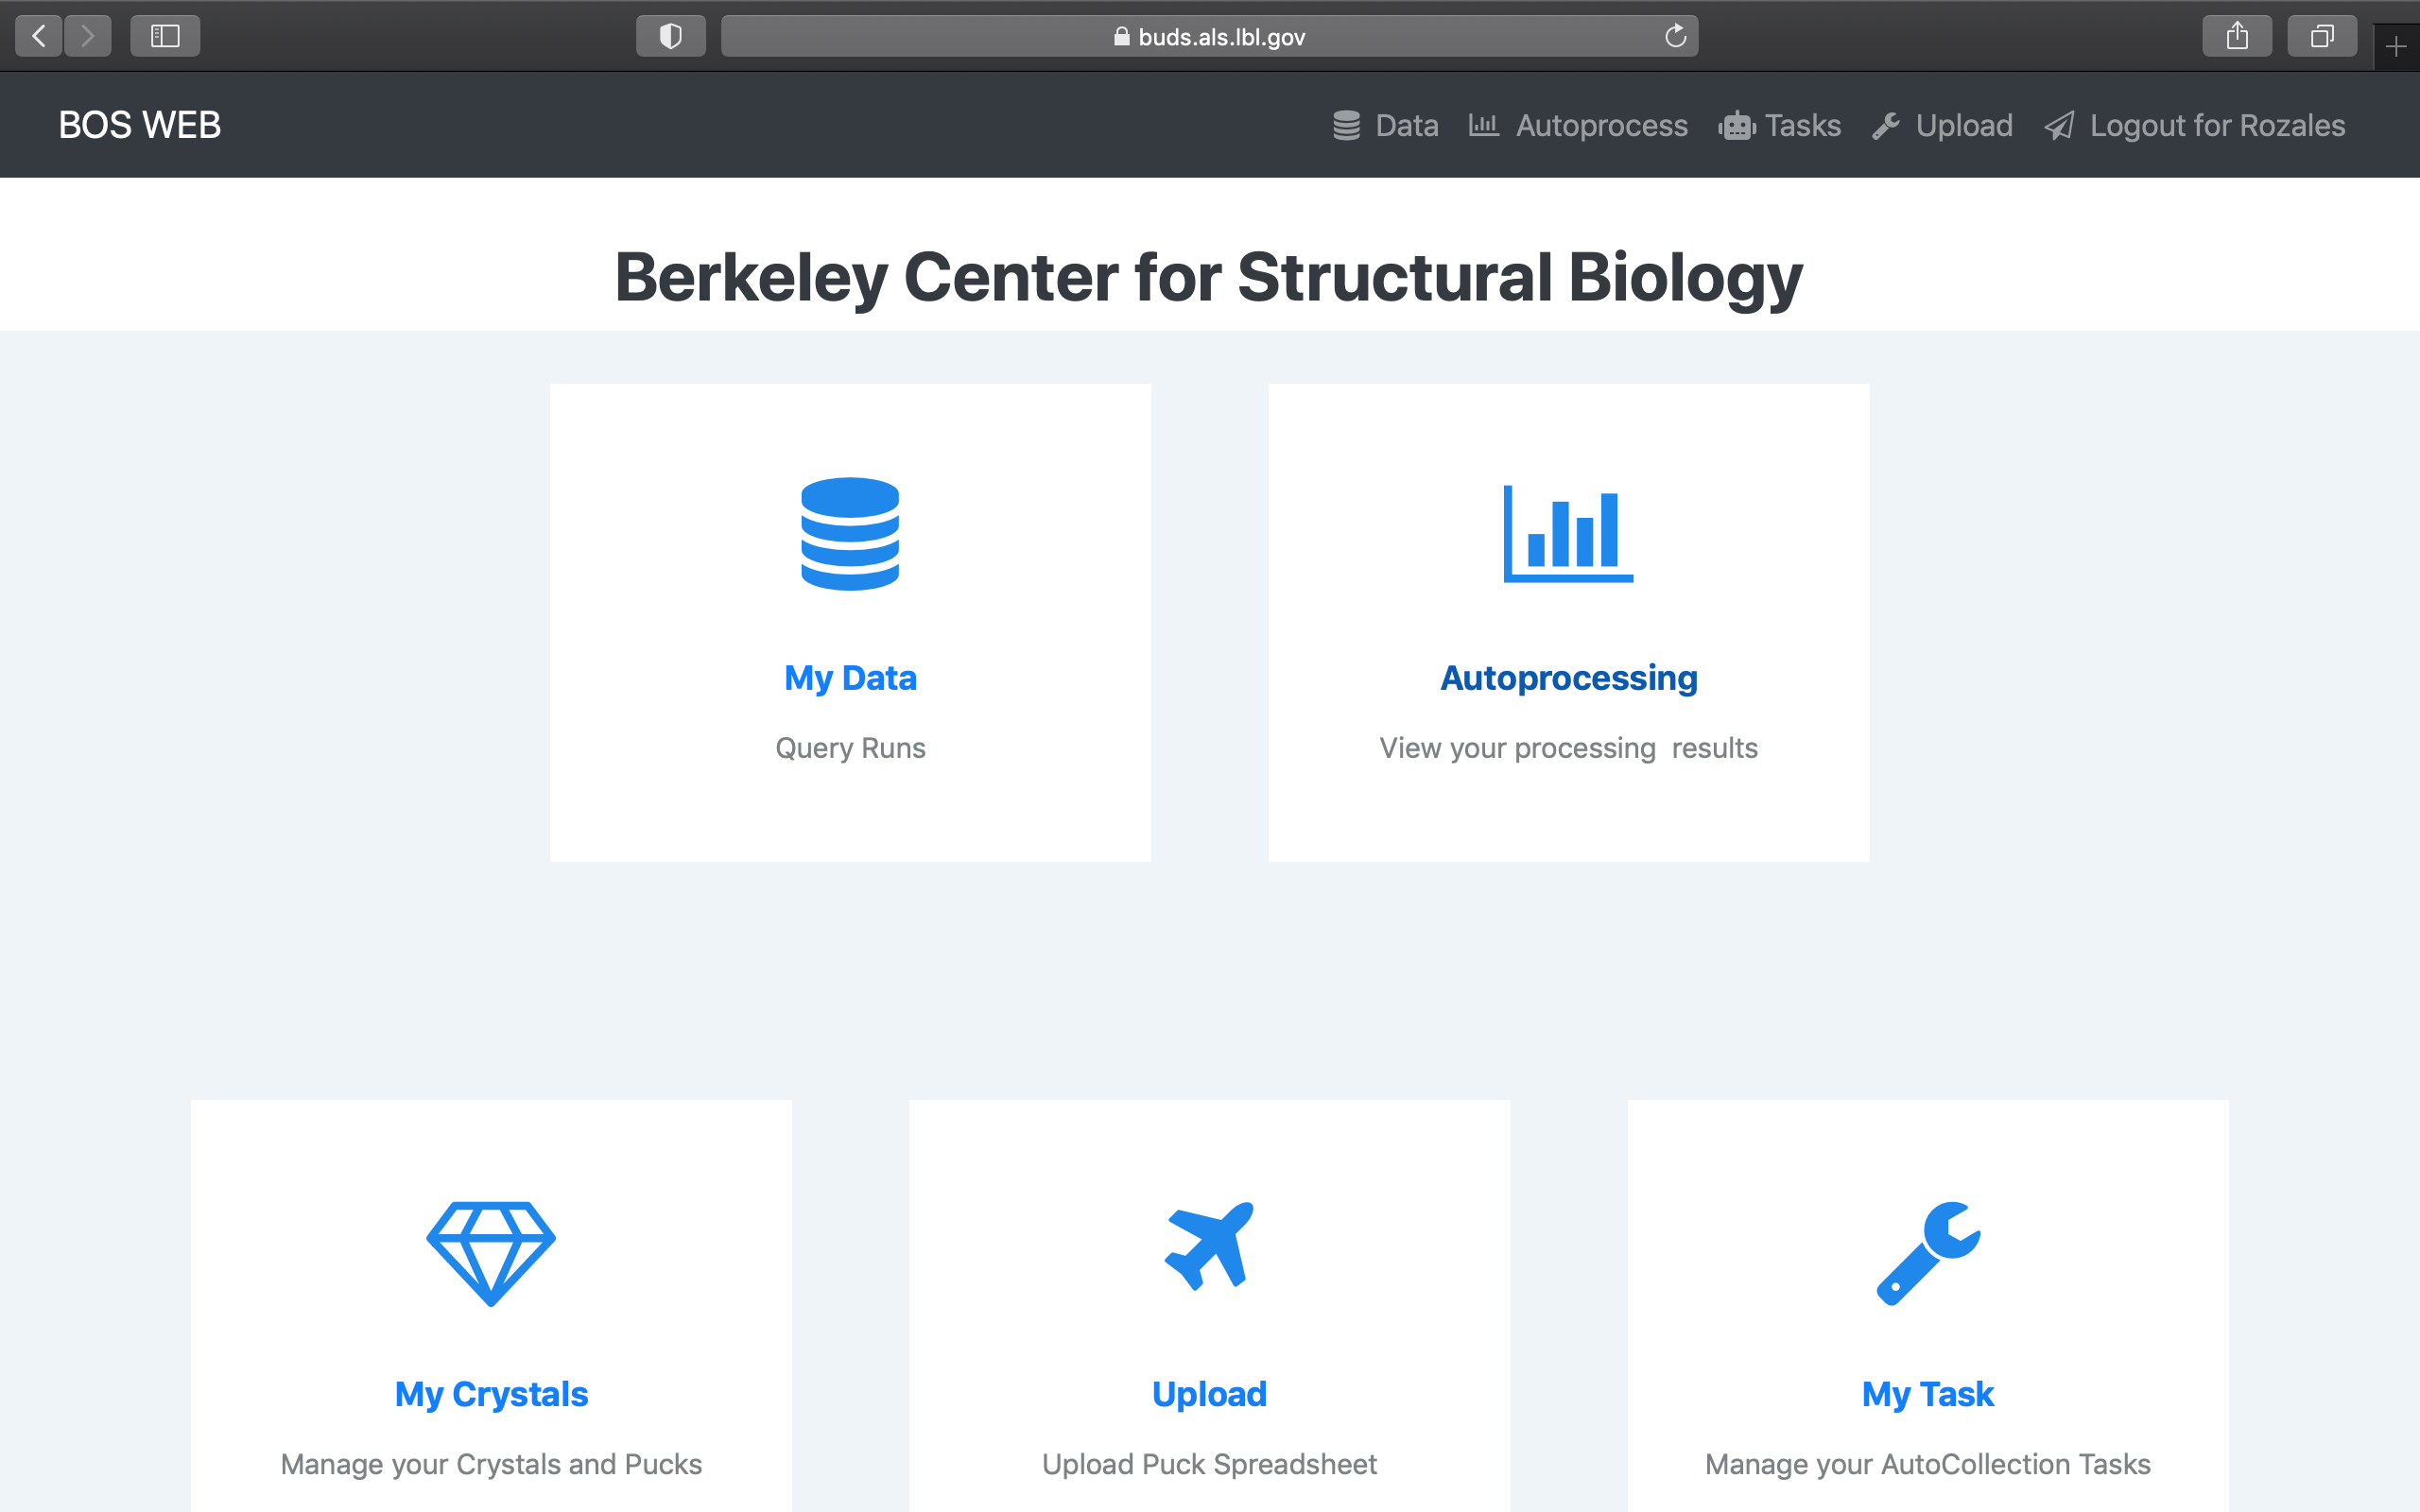
Results can also be accessed through the b4 portal (Here). Enter your username and password and you will see a menu where you can access your data, autoprocessing, etc..:
Click HERE for more details about the autoprocessing – how it works and the files generated.
Remote processing
To process data remotely, you may log in anytime to bcsb-cnx.als.lbl.gov or bcsb-nx.als.lbl.gov using the NX remote desktop client and your BCSB user credentials. Click here for information on logging in remotely.
Using HKL2000 At The Beamline or Remotely
PLEASE NOTE: The HKL license for beamlines 5.0.1 an 5.0.2 is only available on our bcsb-cnx machine, and only for users who have already purchased a license directly from HKL Research.
- Log on to one of the processing machines using your account.
- Open up a terminal window and type HKL2000 (You must do this from your home directory, not the data directory).
- Under the Directory Tree (the data page of HKL2000), click down to your data. For example: /data/bl822/corie/lyso.
- Select the double arrow key (>>) to read the directory path into the Raw Data Directory field.
Note that if you collected binned images you need to click the “binned” button on the main page under other options. License information and manual (pdf) can be found on the HKL-xray website.
Using Mosflm At The Beamline or Remotely
- Log on to one of the processing machines using your account.
- Open up a terminal window and type imosflm (You must do this from your home directory, not the data directory).
- Navigate to the data directory to point mosflm to the images.
A Note on the Beam Center
Currently, the beam center is written to the .img files in the adxv format. The beam center as written on the hutch page in b3 is in denzo/mosflm format, and these numbers should be correct in the prep scripts. If you do need to enter the numbers manually, you can convert the adxv format to the mosflm/denzo format as follows:
mosflm x = 315 – adxv y
mosflm y = adxv x
Using 2-theta in HKL2000
First find the new direct beam position. You can do this one of two ways:
- (the easy, less accurate way): Estimate the beam center by looking at the beamstop shadow on the image. Enter the values in the “Beam position” pop-up from the Index/Refinement page.
- (the harder, more accurate way): Take a powder diffraction image and find the exact beam center using the program Fit2d. (Staff can help with this)
- Put the 2-theta value in the “Rotation X” under the “Site Configuration” menu.
- Calculate the number cos(2-theta). This is a correction to the detector distance. Add this to the detector distance used and input the value in the main page of HKL2000.
- Proceed with processing as usual.
Using 2-theta in Mosflm
First find the new direct beam position. You can do this one of two ways:
- (the easy, less accurate way): Estimate the beam center by looking at the beamstop shadow on the image. Enter the values in the “Direct X beam” and “Direct Y beam” on the main window. Note: you can also enter these values using the keywords “beam swung_out x y”.
- (the harder, more accurate way): Take a powder diffraction image and find the exact beam center using the program Fit2d. (Staff can help with this). Enter the values in the “Direct X beam” and “Direct Y beam” on the main window.
- Enter the value of -(2theta) on the main page. For example, if your 2theta is 5, you will enter -5 (a negative number)
- Proceed with processing as usual.
Prep scripts
The prep scripts copy files that can be modified in any text editor and then used as input files to the software of interest. You must edit items such as the directory path, name of the first filename you wish to analyze and various other parameters, such as wavelength, beam center, etc.
denzoprep creates the files: auto.dat, batch.com, and scale.com
mosflmprep creates the files: index.inp, strategy.help
solveprep creates the files: add_solve.txt (add on more sites), analyze_solve.txt (input heavy atom sites that are known), ccp4_mir.txt (for ccp4 .mtz files), ccp4_mad.txt (for ccp4 .mtz files)
Thank you for reading!