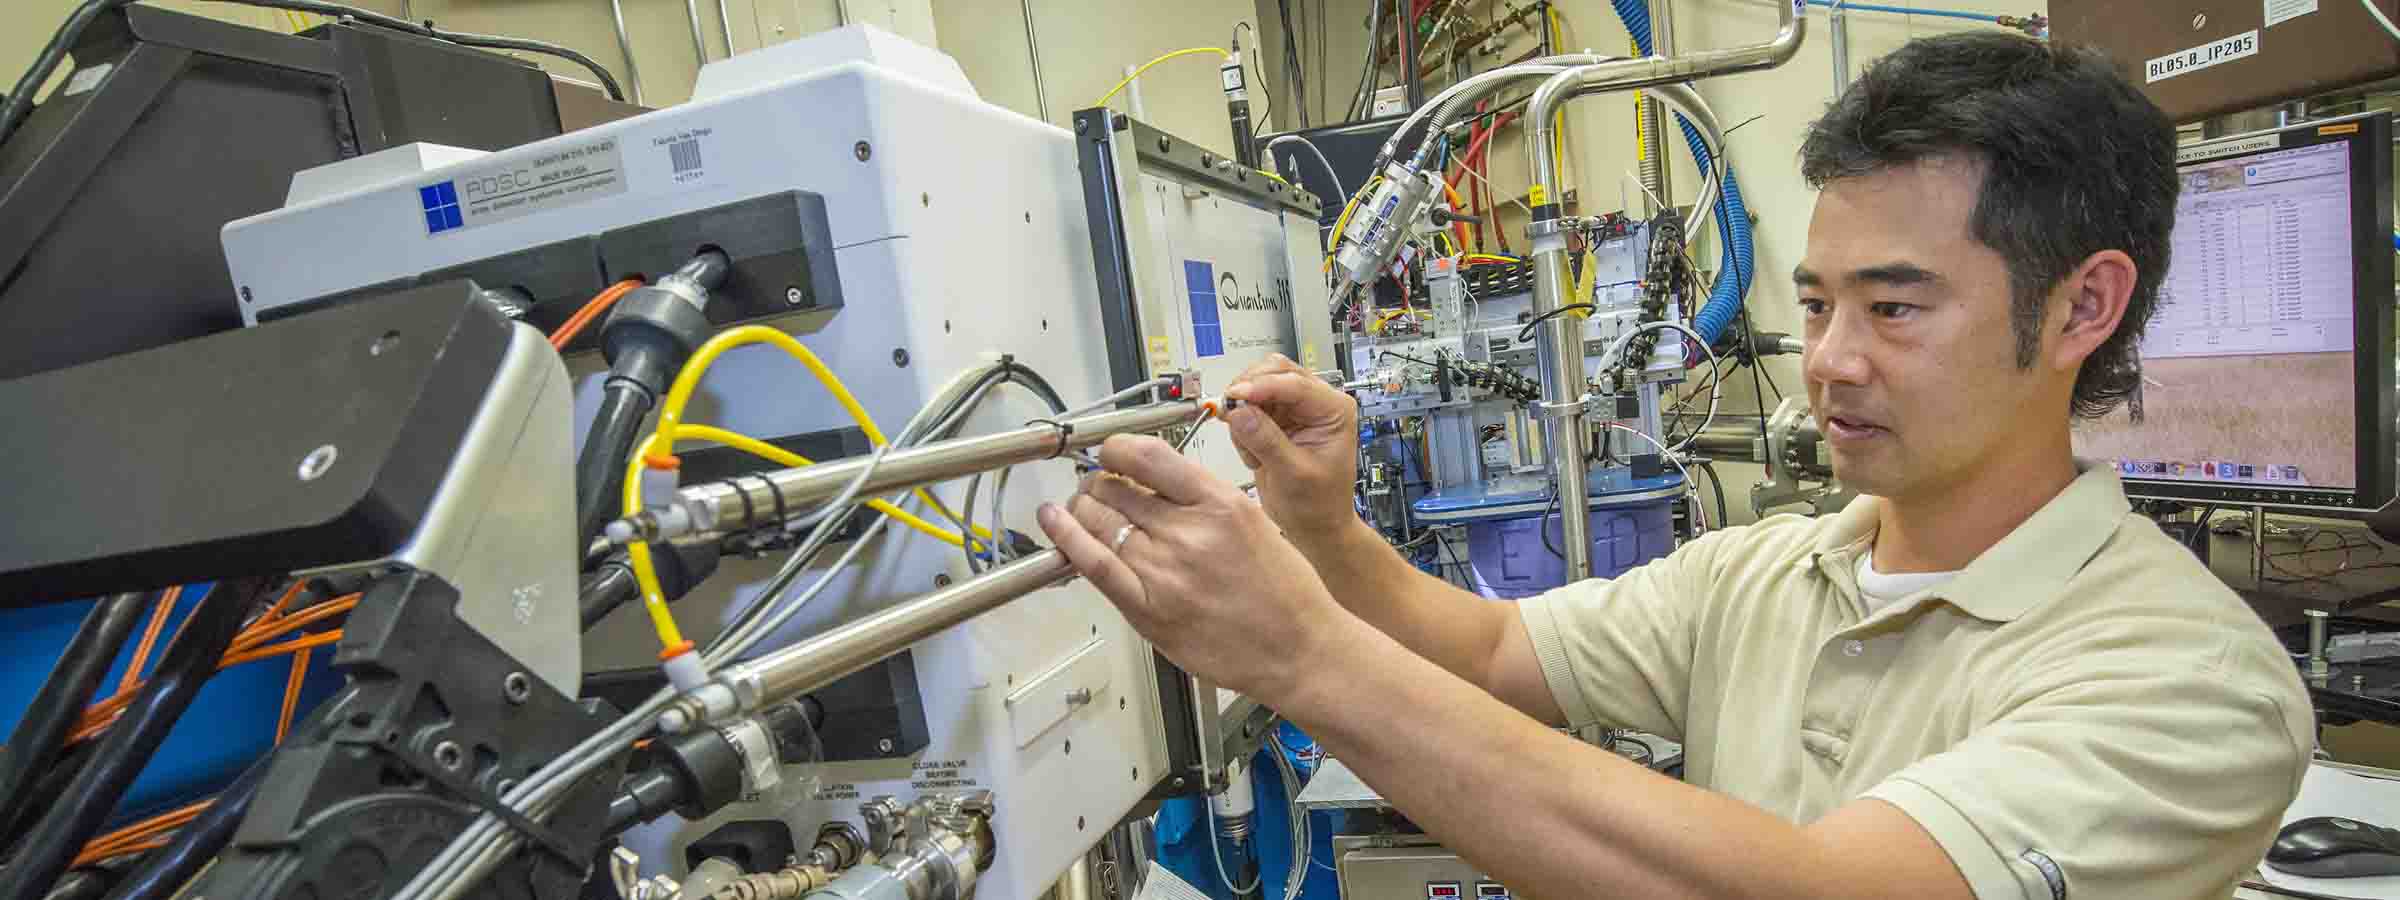
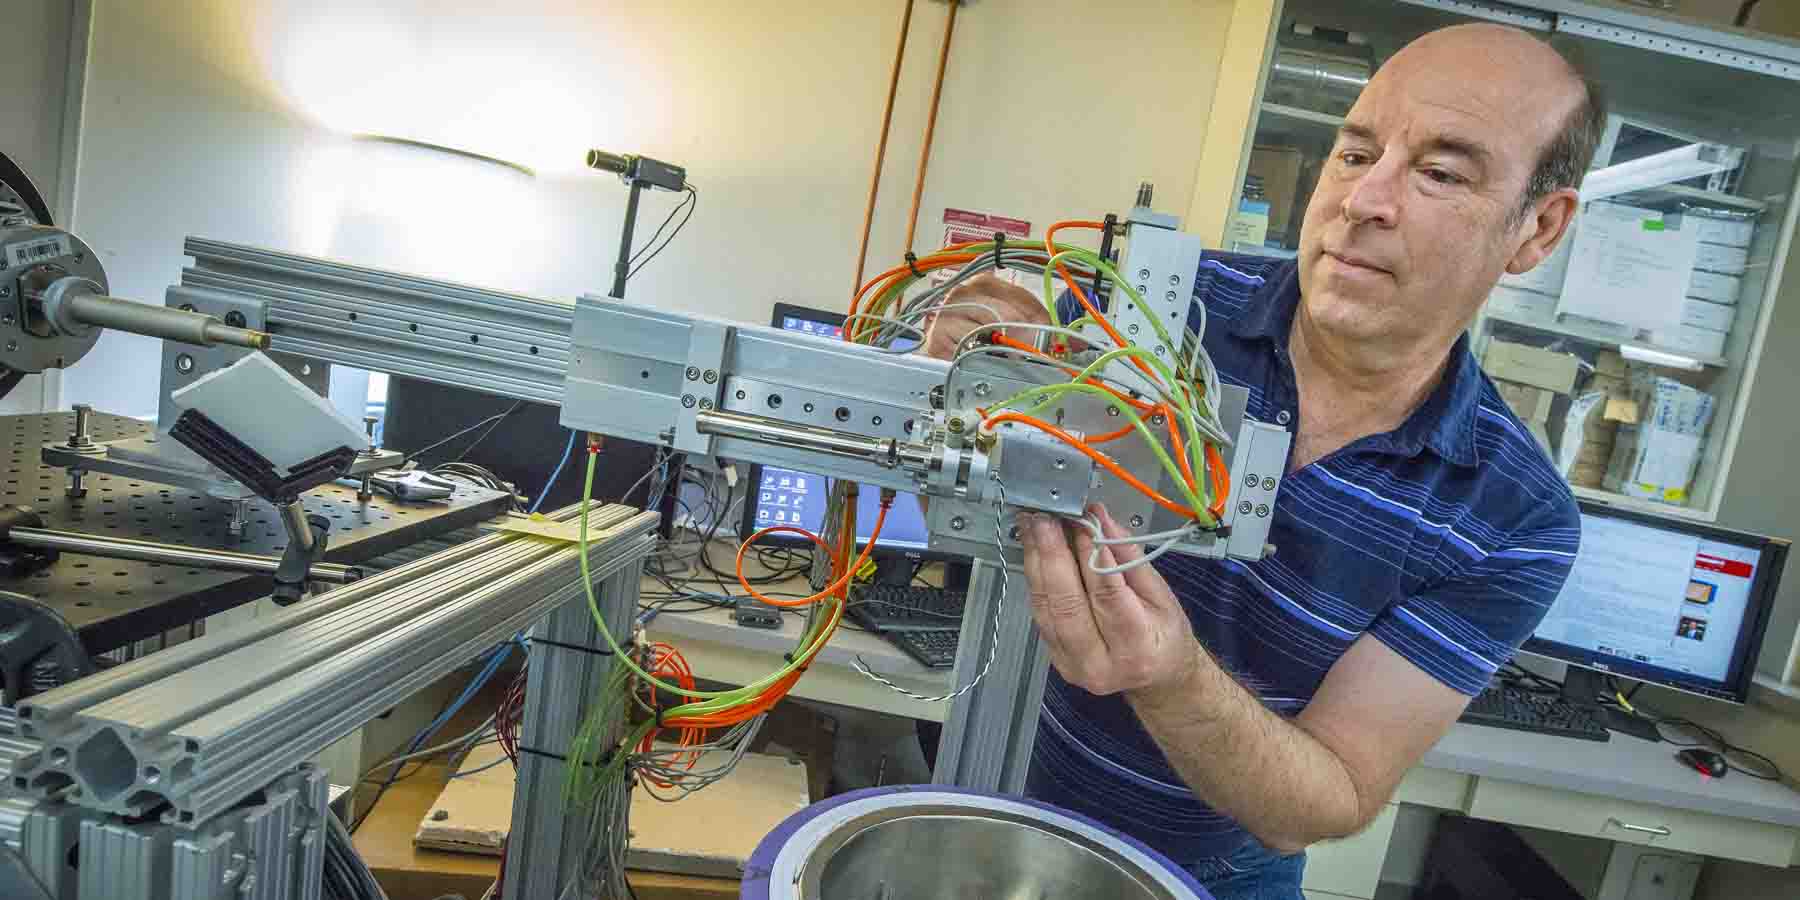
Automounter user guide
(images taken from a workshop talk given by C.B. Trame)
Contents |
[edit] Introduction
The Automounter is an automated cryogenic crystal mounting system that is aimed at high-throughput macromolecular crystallography by increasing experimental efficiency and reliability. It is ideal for groups interested in screening large sets of crystals. THis page describes the automounters which are available on beamlines 5.0.1, 5.0.2, and 5.0.3. The automounters on 8.2.1 and 8.2.2 are described elsewhere.
It is composed of a dewar to hold the crystals, where they sit in sample cassettes, aka "pucks". The robot arm, or "gripper", reaches into the dewar and picks up crystals one at a time to mount them on the goniometer at the beamline.


[edit] Arrangements for Use
Approximately 1-2 weeks before your scheduled beamline time you will be contacted by our administrative staff. At this time you need to indicate whether you are interested in using the automounter. All users must be trained on the automounter prior to use. Beamline staff will conduct training at the beginning of your scheduled time. Before you can use the automounter you will need to obtain your own set of pucks and puck tools, detailed section below. The beamtime to users always begins at 10:00 A.M. (unless specific changes to the schedule are made).[edit] Equipment Required
The automounter requires: (1) a puck tool set, (2) specially sized bases, and (3) pins of a certain length. Crystals will need to be pre-mounted in the pucks prior to arrival for beamtime per the Puck Manual:1. PUCK TOOL SET

Pucks and pins in the bases
From left to right: bent puck tongs, straight puck tong,
puck pusher, base holder.
These can be ordered from:
Peter Boyd
Boyd Technologies
Box 95
Manchester, CA 95459
phone: (707) 882-1630
cell: (707) 484-7571
fax: (707) 882-1745
email: mailto:pbboyd@earthlink.net">pbboyd@)earthlink.net
Qty. Item Price/Each ($) Price ($)
1 10" bent cryo tong 130 130
1 10" straight cryo tong 130 130
1 Puck pusher 150 150
1 Puck wand 150 150
7 Cryo puck 60 420
7 Magnetic cryo puck lid 110 770
1 Cryo puck shipping cane* 1000 1000
1 Puck separator tool 350 350
Total 3100
*Shipping cane for Taylor Wharton CP100 shipping dewar or 34HC storage dewar.
2. BASES
Bases to accomodate the automounter may be ordered
from either of the following suppliers:http://www.vineburgmachining.com/">Vineburg Machining Inc.*
775-246-4336*
OR
http://www.hamptonresearch.com/">Hampton Research
Part Number HR4-779
Please specify that the bases will be used in the ALS robot.
*Price estimates for other quantities can be
obtained by call Vineburg Machines directly.
Base Supplier Qty. Price/Each ($) Price ($)
3. PINS
The only pins which can be used with the robot are the "Hampton 18 mm" pins. This corresponds to breaking off the two end segments of a Hampton pin.
The image below details the assembled ALS-style base+pin ("18 mm") which is the preferred design for the automounter. The dimensions are fairly critical here, and the most important one from the automounter's standpoint is the distance from the inside mounting surface (which corresponds with the top of the goniometer magnetic mount) to the center of the crystal = 20.3mm ± 1mm.
It appears that the SSRL-style pins with the copper stem do not work well with our off-axis coldstreams. They work OK after an initial mount of the crystal, but subsequent dismount/remounts seem to result in excessive crystal warmup.
Therefore, we advise users ONLY to use the designated caps and Hampton pins.

Liquid Nitrogen SafetyWhen filling the handheld dewars, and when pouring LN into the purple dewars, you
must use the large face shield and the insulated cryogloves:
When manipulating samples in the purple dewars and transfering samples to the
goniometer using cryotongs, you the smaller safety glasses and use cotton gloves
covered withlatex gloves:
Robot Safety
The yellow safety mat is interlocked to the robot motion. If you step on the mat the robot will
stop moving.
In addition, the main robot power is controlled by the button on the blue control box just beneath
the robot. Pressing this button will shut down all systems associated with the robot.
[edit] Preparation: Before Arrival at the ALS
[edit] How to Mount Pins in Bases
(material taken from Puck User Manual written by G. Snell)
- User only the custom made bases. These are conical rather than having a lip, as on the
standard Hampton bases.
- Break off the two bottom sections of the standard Hampton pin to obtain the correct pin length:
the pin should stand out 12-13 mm when inserted into the base.
- Put superglue on the end of the pin and push it all the way into the base.
- Make sure there is no glue on the cap other than around the pin.
- Let the glue dry before freezing in liquid nitrogen; the glue does not dry when cold.
- Quality control check:
To check if the glue holds, try to pull the pin out by hand. It should stay firmly in the base.
To check the pin length, place several of the bases with pins on a flat surface and the discard
the ones which are too short or too long compared to the average.
[edit] How to Load a Puck with Crystals
- Put a puck with the holes up into a small dewar filled with LN and let it cool down.
- Using the magnetic wand to hold the base, scoop out the crystal from the well and put it straight
into the puck.
- Keep track of which crystal goes into which position.
- If a puck does not get filled with 16 samples, don't put 'dummy caps' into the empty holes.
- Close the puck with the magnetic base: Hold the magnetic base with the base holder, and push
the base into the puck.
- Once the center pin of the base is in the puck, move the base rapidly in, otherwise the magnet in
the base might pick up the pin bases and pull them out of the puck.
- Make sure the base snaps in properly.
[edit] How to Load/Unload Pucks into/from the Shipping Dewar
- Puck a puck carrier (the long center piece of the dewar) into the shipping dewar and let it
cool down
- Using the puck tongs, pick up the puck with the lid on top (ie, the crystals should be hanging
upside-down in the puck) and the indexing groove opposite the puck tong
- Lif t the carrier partially from the dewar so that half an inch or so is still in the carrier.
- Push the puck into the carrier until it snaps. The puck should be completely flush with the carrier.
- To unmount a puck from the carrier, pull the carrier partially out and grab the puck with the puck tong.
Be careful not to grab the carrier itself.
- For transportation, secure the pucks in the carrier with the safety rod.
[edit] After Arrival at the ALS
[edit] Preparing the BOS Software for Puck Loading
- First click on Open Hutch, and then physically open the hutch door so you have acces to the robot.
- Click on the Load button.
- Select a puck position to load ("A" though "F") and then click on the center pin on the puck diagram. This will bring the robot dewar into position such that the chosen puck is beneath the lid in the dewar.
[edit] Loading the Pucks into the Robot Dewar
![]()
Choosing the Pin and Puck in the Software
Physically shut and interlock the hutch. Choose Park on the BOS control window.
- Click on Close Hutch button in BOS.
- Click on the pin that you would like to mount in the puck picture.
[edit] Possible Problems
Icing around the gripper:
Not all of the heaters are turned on, gripper heater must be set to ~45degC before starting to use the robot. Warm up the gripper more frequently, at least once per puck.
Ice crystals:
1.Check the cryo-stream alignment at x=0,y=0,z=0 motor positions. At these coordinates the robot is placing the pin onto the goniometer. That position also corresponds to the properly aligned gripper-goniometer. If, by any chance somebody re-zerowed new coordinates for different pin length and staff didn't check it, you might be too far with your crystalsfrom the right spot for the cryo-stream.
2. Also, if you don't see your crystal at the 'low mag', you might be running a danger of having your crystal out of the cryo-stream and getting ice. Deafult robots setup is always for the 18mm pins. If you switch from the robot to the manual mount, always confirm, that cryo-stream is in 'extended' position. (from BOS interface go to 'View' click on 'All IO' and when the window pops up confirm that the 'cryostream' is 'extended').
Stuck Gripper not finishing small motions-> Incorrect Air Pressure:
Air pressure must be at 80 psi during use. If the air pressure is <=70psi, the gripper will get stuck in the 'small move extend/retract' position!! Adjust the flow rate
on the dose valves for the small move in order to fix it.
Knocked over pins in the puck after mounting:
Before loading the puck, check if its magnetic surface is free of small attached objects (ice, rest of broken pins, etc), that prevents knocking off pins because of not properly positioned puck on the plate in the LN2 dewar.
Not finished 'mount' protocol:
1. Laser sensors will stop the mount protocol if you try to mount non exisiting pin, basically empty slot. If you don't know about that empty slot in your puck, you will see nothing happening. You should check the dewar, confirm the empty slot and resume with mounting of existing pins.
2. Another reason for not finishing 'mount' is, if somebody 'bumped' the laser sensor head (the horizontally shining beam doesn't hit properly the pin in the gripper any more) When the system doesn't detect the pin presence in the gripper, the 'mount' remains unfinished.
3. Not finished mount protocoll can also happen when the RTD brakes and temperature readout is impaired (you'll see jumping temperature indications or constant 850 value on the BOS interface under 'Gripper temperature' in the 'Automounter' section.
4. In case the previous 'unmount' was not sucessfully finished (reasons for that are below) and you tried to mount a neighbour pin, stop immediately and check the dewar for lost pins first. In any of these cases, contact staff (by calling 2500 or 2900) and explain .
Not finished 'unmount' protocol:
1. If certain robot motions during 'umount' were not successfully finished, the error message will pop up and the system will stall. You need to check the dewar, open the small lid and if there are some, reposition or remove the knocked over pins. Reason for that is, too much icing on the pin or the dewar lost its alignment. The solution to that problem is 'warm up' the gripper or 'home' the dewar.
2. Other reason for unfinished 'unmount' can be usage of the wrong non-Hampton bases for your mounted crystals, especially if they have ice on them. Slighlty misaligned robot will keep these bases stuck to the brass collet. Solutions are a) switch to hand mount b) mount your crystals once and discard them manually after your data collection on them.
Dewar lost its alignment and pins get knocked over, especially after unmount:
Over time, the SMART stages of the robot (which are moving the dewar with samples), loose steps. Home the dewar motors by pressing the 'home' button on the center page of the BOS GUI.
Pins won't get gripped from the goniometer during unmount:
Gripper has too much internal ice which prevents it from proper gripping. Klick on 'warm up' on the 'center' page of BOS GUI first, then retry 'unmount'. After unsuccessfull unmount BOS will try on its own to warm up the gripper and cool it back down before retrying the unmount one more time.
Automounter mounts crystals at room temperature:
If BOS configuration file (click on the kicker symbol, next to the snail icon, and check if the 'Has LN2' box is checked) wasn't switch back to LN2, the system will mount crystals without checking that the gripper reached the liquid nitrogen temperature. To be on the safe side, check that box yourself or confirm with staff that the gripper settings are proper.
Robot stalls completely, BOS crashes and no restart is possible:
1. That happnes when any of the gripper wires brake and build up a 'short' to the ground so that the corresponding WAGO unit looses its power.
2. The same happens if somebody forgets to switch the emergency WAGO power back on, after having it off for puck loading or other purposes.
Power outage:
In case of power outage during the robot usage few things will need to be done. First, call staff a.s.a.p. to secure your crystals, since you have ~20min until the LN2 level gets low for your stored crystals. You can fill the dewar by hand, until than. If the power loss happened midden during a motion, you'll need to 're-home' the dewar after the power comes back. Staff will take care of it.


